
DIY Candle Making: A Checklist for Safe and Scented Candles
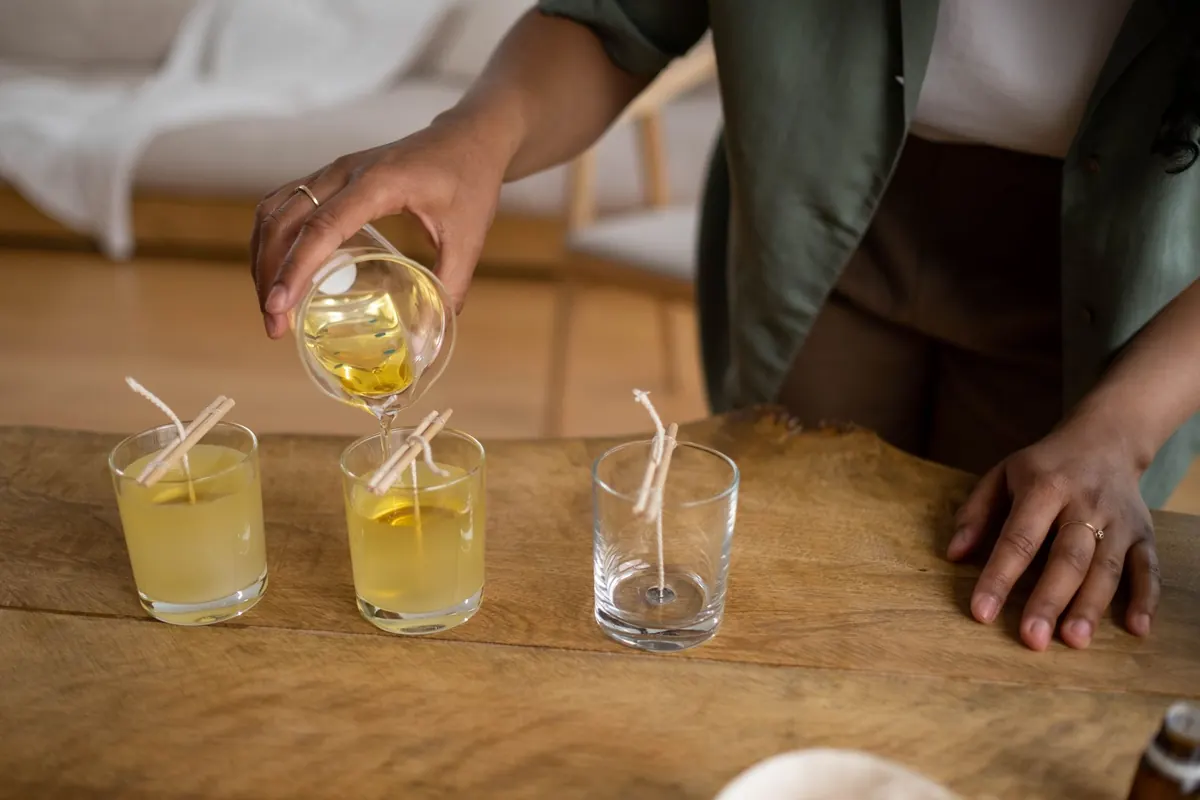
A jar candle burning on the windowsill, smelling faintly of cedar and orange peel, costs very little to make once the basics are in your cupboard. Candle making is forgiving work: wax, wick, vessel, scent, steady heat. Where beginners get into trouble is skipping the unglamorous parts — the thermometer, the small test batch, the wick trim. What follows is the whole process in the order you will actually do it, plus the safety habits that keep a pleasant evening from turning into a scorched countertop.
Set Up Before You Melt Anything
Wax spills, and fragrance oil stains. Assume both will happen and cover the surface you are working on with newspaper or a silicone mat.
Use equipment you do not cook with. A stainless pouring pitcher set inside a saucepan of simmering water works, and an electric wax melter is even easier. Do not use your good saucepans: wax residue is stubborn, and fragrance lingers long after you have washed them. Keep a box of baking soda and a metal lid within reach. If wax ever catches fire, smother it with the lid or the soda and turn off the heat. Water makes a wax fire worse, so never reach for the tap.
Tie your hair back, roll up loose sleeves, and work in a ventilated room with a window open or a fan running. Keep children and pets out of the kitchen while wax is liquid.
Your Starter Supply List
- Wax. Container blends (soy, coconut-soy, or paraffin blends) are soft and designed to stick to glass. Pillar blends are harder and hold their shape without a jar. The two are not interchangeable.
- Wicks. Cotton or cotton-paper core, sized for your vessel's diameter. Buy a small assortment rather than one size, because the right wick depends on your wax and jar.
- Vessels. Heatproof glass, tins, or ceramic. Skip thin drinking glasses, chipped jars, and anything decorative that was never meant for heat.
- Wick centering tools. Commercial wick holders are inexpensive; two wooden skewers laid across the rim with tape work too.
- A thermometer — candy, probe, or infrared. Guessing temperatures is the single most common reason candles turn out wrong.
- A kitchen scale that reads in grams, a pouring pitcher, a stirring stick, scissors, paper towels, and a notebook.
- Scent. Candle-safe fragrance oil, or an essential oil blend you have tested.
- Dye (optional). Liquid candle dye, added one drop at a time.
Step by Step, From Wax to Cure
- Work out how much wax you need. Put your vessel on the scale, fill it with water to the level you want the finished candle, and note the weight in grams. Multiply by roughly 0.85, since wax is lighter than water, then dry the vessel completely.
- Set the wick first. Stick the wick tab to the center of the vessel base with a wick sticker or a dab of melted wax. Hold it upright with a wick holder or skewers across the rim.
- Melt slowly. Low, steady heat and gentle stirring. Never leave melting wax unattended, and check the temperature often rather than turning up the burner.
- Add scent at the right moment. Most suppliers recommend adding fragrance around 180 to 185°F (82 to 85°C) for soy, then stirring gently for about two minutes. If your fragrance oil's flash point is lower than that, let the wax cool slightly first — but not so far that it begins to set. A general range is 6 to 10 percent fragrance by weight of wax. More is not better.
- Add dye, if using. One drop at a time. A little goes further than you expect.
- Cool to pouring temperature. Soy container blends are usually poured around 135 to 145°F (57 to 63°C); paraffin pours hotter. Pour slowly down the side of the vessel and leave a little headspace. Keep a small amount of wax in the pitcher for topping off later.
- Let it set undisturbed at room temperature for 12 to 24 hours. A dip in the center is normal. Poke a few holes with a skewer and top off with the reserved wax.
- Cure before burning. Cover loosely and wait a few days; soy candles in particular smell noticeably stronger after several days to a week. Trim the wick to about a quarter inch before the first light.
Scent Options and What to Expect
Candle-safe fragrance oils are the reliable choice. They are blended to survive heat, throw scent evenly, and come in hundreds of combinations. Look for labeling that specifically says the oil is made for candles — oils sold for soap or skin use may not perform, and are not meant for burning.
Essential oils smell beautiful in the bottle and often disappoint in the jar. Many are faint once melted, and citrus oils in particular burn off quickly. Some are irritating at the concentrations candles need. If you want to work with them, start with a blend built on a sturdy base note such as cedarwood, and test in a single small candle before committing a whole batch.
Layering and record keeping do more for your results than any single ingredient. Two or three oils that share a mood — vanilla, orange, clove — usually beat one loud note. Write down the wax, wick, oil, percentage, pour temperature, and date in your notebook. Without notes you cannot repeat a winner or fix a dud.
Keep batches small while you learn, and burn the first candle of any new recipe somewhere you can watch it the whole time.
Test Burns and Troubleshooting
A candle's first burn tells you almost everything. Within two to three hours, the melted pool should reach the edge of the jar. If it tunnels down the middle instead, the wick is too small for that diameter. If the flame is tall and flickering, the jar is sooty, or the glass feels hot to the touch, the wick is too large.
Soot usually comes down to a wick that needs trimming, a drafty spot, or too much fragrance or dye. A weak scent often means the candle needed a longer cure, or the fragrance was added at the wrong temperature. Sinkholes, cracks, and the pale patches where wax pulls away from the glass are mostly cosmetic and can be fixed by a top-off or a slower cool.
Work through these one change at a time. Adjust the wick size, then burn another test candle. Recipes come together in small, patient steps.
Safety Is the Last Step Too
Trim the wick to a quarter inch before every burn. Burn for no more than four hours at a stretch, and stop when half an inch of wax remains at the bottom. Keep candles away from curtains, shelves, drafts, children, and pets, and never leave one burning in an empty room or while you sleep. Use a snuffer rather than blowing, which can scatter hot wax.
Clean up with care as well: let leftover wax harden in the pitcher and scrape it into the bin rather than pouring it down the sink, where it will set in the pipes.
Two last notes. If you are sensitive to fragrances, have asthma, or are making candles for someone who is, keep batches small, ventilate the room, and talk to a health professional about anything that concerns you. And if you decide to sell your candles, labeling, insurance, and fire-safety rules vary by place — check with your local authorities before your first market stall. Then light one, sit back, and enjoy the fact that you made it yourself.
Photo: Ron Lach / Pexels