
Beginner's Guide to Embroidery: Essential Stitches and Supplies
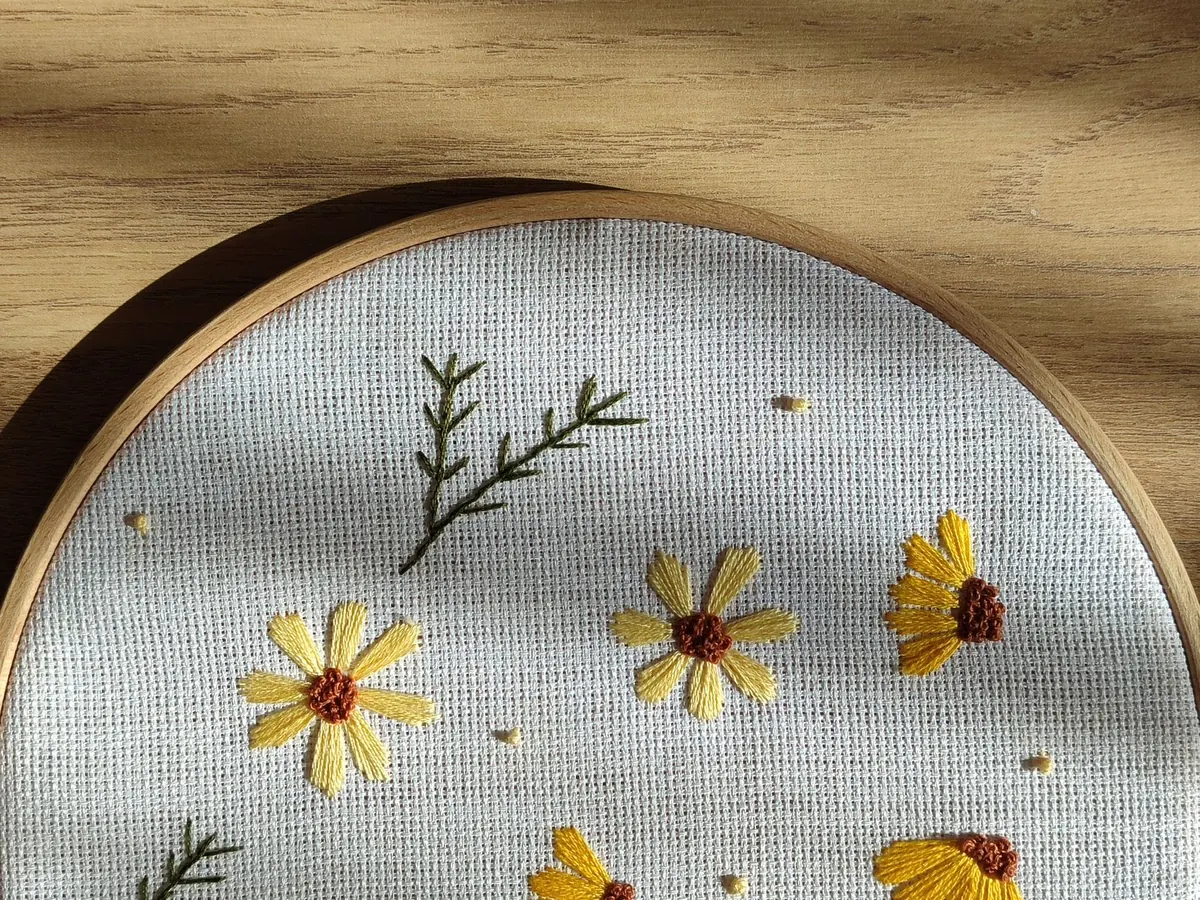
Embroidery asks very little of you: a needle, a length of thread, a piece of fabric, and twenty quiet minutes. That low barrier is exactly why it makes such a satisfying first craft. The stitches are simple, mistakes pull straight out, and the finished piece is something you can wear, frame, or hand to a friend.
Craft aisles make it look harder than it is. Needles are sold in a dozen sizes, threads come in every fiber you can name, and fabric is cut by the yard in widths you have no use for yet. You need almost none of that to begin. Here is the short version: which supplies earn their place in your kit, which fabrics behave, and the five stitches that will carry you through your first several projects.
Pick Fabric That Behaves
Embroidery is easiest on a woven cloth with an even, visible weave — the kind where you can see a little grid of threads if you hold it up to the light. Quilting cotton is a beginner's best friend. Cotton lawn, midweight linen, and linen-cotton blends work well too, and a plain cotton tea towel or a scrap of muslin costs almost nothing while you practice.
Skip stretchy knits for now. Jersey and ribbed fabrics shift under the needle, and a stitch that looks neat in your hand will ripple the moment you let go. Very dark fabric is also worth avoiding at the start: navy linen with black thread is lovely in theory and miserable to see by lamplight. Save it for when your hands know the motions.
Two small habits pay off. Wash and press new fabric first, so it does not shrink after you have stitched on it. And if a fabric feels stiff or heavy, add a lightweight backing or interfacing behind it — the extra layer holds the stitches without letting them pull through.
The Supplies You Actually Need
Start with a small kit. Everything below fits in a shoebox, and you can add to it once you know what you enjoy working with.
- Embroidery needles. Look for packages labeled "embroidery" or "sharps" in a range of sizes, roughly 5 to 10. Higher numbers are finer; a size 7 or 8 handles most cotton floss comfortably.
- Six-strand cotton floss. This is the standard embroidery thread. A handful of colors — three or four — is plenty to start, plus one spool of white.
- A hoop. Four to six inches across, with a screw to tighten the tension. A hoop that is too large is awkward to hold and keeps the fabric looser than you want.
- Small sharp scissors. Tiny curved-tip embroidery scissors are ideal; clean nail scissors will do until you buy some.
- A marking tool. A water-soluble fabric pen, a heat-erasable pen, or a fine mechanical pencil on light fabric.
- Optional comforts. A needle threader and a thimble cost very little and save a frustrating evening.
Ignore the rest for now. Specialty threads, hoops on floor stands, and books of two hundred stitches will still be there in six months, and you will choose them better once you have opinions of your own.
Thread, Length, and Tension
Floss arrives as six strands twisted together. For most surface embroidery you will separate them. Split the strands one at a time — peel one away, then another — rather than tugging two at once, which bunches the thread and leaves it kinked. Two strands is a good default for fine outlines; three gives bolder lines and covers better when you are filling a shape.
Cut your working thread to about eighteen inches. Longer lengths feel efficient and behave badly, twisting into knots every few stitches. Shorter pieces mean more threading, but far less untangling. Let the needle hang and spin free now and then to let the thread unwind itself.
Starting and ending without a mess
You can tie a small knot in the tail and begin. Many beginners do. It works, but the knot leaves a bump that can shadow through light fabric and makes the back lumpy. A tidier method: leave a short tail on the wrong side, hold it with your thumb for the first few stitches, and let those stitches trap it. To finish, run the needle under four or five stitches on the back and trim close to the fabric.
Five Stitches to Learn First
These five cover outlines, fills, and small details. Practice each as a row on a scrap of muslin until the rhythm feels natural.
- Running stitch. Come up through the fabric, take small even bites along your line, and keep going. Use it for dotted borders, quilting lines, and gathering. Consistency matters more than speed.
- Backstitch. Bring the needle up, then take a stitch that turns back to meet the end of the previous one, so the stitches sit nose to tail. The result is a firm, unbroken line, which is why it is the workhorse for lettering and crisp outlines.
- Stem stitch. Work from left to right along the line, bringing the needle up slightly above the previous stitch so the threads overlap at a gentle slant. The line looks like a twisted cord and curves beautifully; it is the classic choice for flower stems and vines.
- Satin stitch. Lay straight stitches side by side across a shape, close enough to touch. It gives a smooth, filled look for leaves, petals, and small monograms. Keep the shape small at first — long satin stitches snag and loosen.
- French knot. Bring the needle up, wrap the thread around it once or twice, then push the needle back down a thread's width away, holding the wrapped thread taut as it slides. You get a firm little dot for flower centers, berries, and eyes.
Once those feel comfortable, lazy daisy and chain stitch are natural next steps. Both build on motions you will already have practiced.
Getting the Design Onto the Fabric
For a first project, keep the drawing simple: clean outlines, no shading, nothing smaller than a pencil line. Tracing works well. Tape the pattern to a bright window, hold the fabric over it, and follow the lines with your marking pen. A light box does the same job if you have one, and a sunny window costs nothing.
Test your pen on a scrap of the same fabric before you commit. Water-soluble ink needs cold water to rinse out; heat-erasable ink can set permanently if you iron over it, so read the label. If you would rather not mark the fabric at all, iron-on transfer pencils and printed stick-and-stitch patterns are widely available.
When Something Goes Wrong
Nearly every beginner hits the same three snags, and all three have simple fixes.
- Threads keep tangling. Your working length is probably too long, or the thread is twisted. Cut shorter, separate your strands gently, and let the needle dangle to unwind.
- The fabric puckers around the stitching. The hoop is not tight enough, or you are pulling each stitch snug like a shoelace. Fabric should be drum-tight in the hoop, and stitches should lie on the surface, not cinch into it. Fewer strands also help.
- The back looks like a bird's nest. Long jumps between sections are usually the cause. Finish a thread and start a new one instead of traveling across the back, even if it means more ends to weave in.
Your First Project
Choose something small and finishable: a row of practice stitches on a sampler, a single initial in the corner of a tea towel, or one simple motif on a canvas tote bag. Three colors and one afternoon is a good target. A finished small thing teaches you more than an ambitious unfinished one.
When you are done, press the fabric face down on a folded towel so the stitches stand proud instead of flattening. Follow the thread manufacturer's washing guidance, and test a snippet of any dark or hand-dyed floss for bleeding before you wash the whole piece. Store finished work rolled rather than folded, and keep the hoop off the stitched area so it does not leave a ring.
Keep your first piece, wobbles and all. In a few months it will be the most useful reference you own.
Photo: Nur Tok / Pexels